Facility Usage Agreement
How to Create a Facility Usage Agreement
Creating a Facility Usage Agreement is a two step process. The first step is to establish the usage agreement form. *Note: You will only need to complete this process one time unless you need to update the document in the future.
- Pull up a schedule in FSDirect. You can do this by typing the schedule number into the Search for box, then click Go. Hover your mouse over the Shortcuts menu then click on Facility Usage Agreement.
- You will first need to customize the sample contract in FSDirect. Skip over Step 1. In Step 2, click on Get (next to contract/permit MS Word document sample).

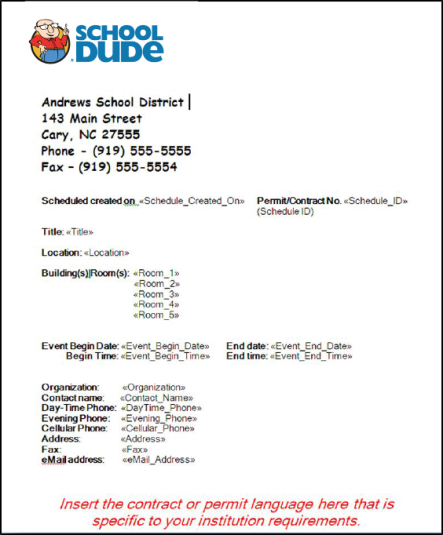
- A Word document will appear on your screen. Customize the document with items, such as your organization logo, terms and conditions, etc. Any text field with brackets («Location») will be filled in with the schedule information when the mail merge is complete.
- When you have finished updating the document, save it to your computer.
How to Complete the Mail Merge
Once you have saved your document, you are ready to start the mail merge process.
- Pull up a schedule in FSDirect. You can do this by typing the schedule number into the Search for box, then click Go. Hover your mouse over the Shortcuts menu then click on Facility Usage Agreement.
- Click Get in Step 1 to download the schedule details.
- You will get a pop-up window on your screen which will prompt you to save the Excel file to your computer. The spreadsheet will contain details from the schedule that you will merge into your contract.
- Find and open the contract that you customized in Step 2. In MS Word, click on the Mailings tab (or Data then Mailing, depending on the MS Word version you are using). Click on Start Mail Merge, then Step by Step Mail Merge Wizard.
- To the right side of your document, click on Browse. You will get a pop-up box on your screen titled Select Data Source. Find and select your Excel spreadsheet, click on the title and open it.
- You will get a box on your screen titled Select table. Click the OK button.
- The next box will indicate Mail Merge Recipients. Click the OK button.
- In the bottom right hand corner of your Word document click on Next: Write your Letter, Next: Preview your letters, then click on Next: Complete the merge.
- If you need to add additional information to your document you are able to do so once the mail merge is complete. *Note: If you are saving the contract, remember to Save As so you do not alter the original contract.
